Appointment types will need to be configured before Flex will show that your office has any availability for online scheduling.
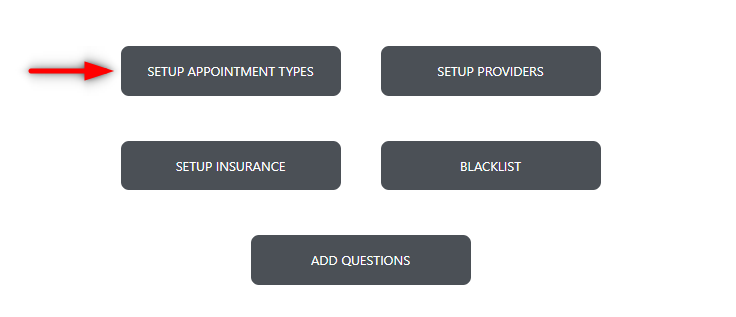
To access your appointment types, enter your Flex settings, and click on the 'FlexSchedule' or 'FlexBook' tab, and choose the 'setup appointment types' button:
You have the ability to add as many appointment types as you'd like, your provider setup and practice management provider/schedule must align for Flex to know there is availability.
Once you select the appointment type, expand to see additional settings including:
- Enable/Disable
- Allow provider selection
- Set new vs. returning patient eligibility
- Mark as hygiene
- Descriptive title and text
- Set icon for appointment type
- Appointment length
- Allow same day scheduling
- Set Assistant start and end times
- Attach appointment to blockouts only
- Choose which providers, codes, and operatories will be used
- Choose available date(s) and time(s) to schedule

Some settings to note:
If you have multiple providers eligible for this appointment type, enabling 'allow provider selection' will show your provider pictures and patients have the ability to choose who they want to see.
Flex can dictate schedule availability based on provider time, if enabled, assistant time(s) will be seen as 'available' times on the schedule.
If you have questions after reading the material above, please comment below, or contact Flex Support!
Thank you!
Comments
Please sign in to leave a comment.