For multi-location practices using Flex, importing and sharing forms between offices is quick and seamless, ensuring consistency across all locations. In this article, you’ll learn how to efficiently download, share, and import forms to keep your workflow running smoothly.
- Note: The Flex user must have admin permissions in Flex to access the Form Builder, which is found in the settings tab. To update a user's permissions, view this article: How Do I Change User's Permissions?
Downloading Forms
- At the location you want to copy forms FROM, log into Flex as an administrative user.
- Click the Settings icon.
- Ensure Advanced Forms are enabled.
- If your office is using Legacy forms, first view this article: How to Switch from Legacy Forms to Advanced Forms.
- Select Edit Web Forms.
- Navigate to the Form Builder tab.
- Click Download Form to save the form file.
- Share the file internally with the importing location.
- Note: Many clients save files into a shared drive, location, or cloud.
Importing Forms
- At the location you want to share forms TO, log into Flex as an administrative user.
- Click the Settings icon.
- Select Edit Web Forms.
- Go to the Form Builder tab and select the sub-tab labeled 'Form Builder'.
- Type your Form Title.
- Select the Language.
- Designate your Form Type.
- How you designate your form determines how it is sent automatically. For information review the Flex Timeline, here.
- You will set the Form Type again on step 10.
- Click Import Flex Form.
-
Choose the saved shared form file.
-
Confirm your Form Type.
Your Shared Form will Save Automatically after Importing.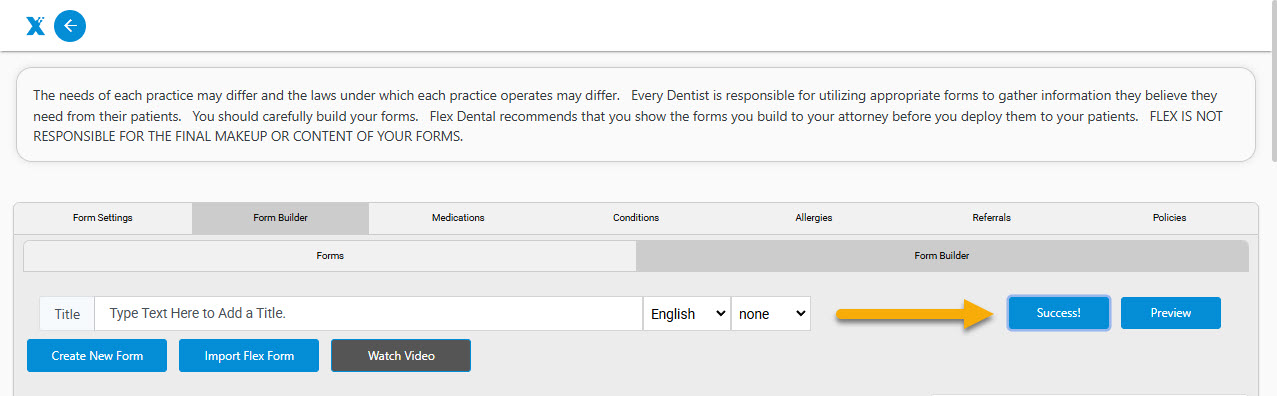
For additional details on using and creating Advanced Forms including Office Policies, refer to this guide: Using the Flex Form Builder
You're all set!
If you found this information helpful, please like and/or comment below!
If you have questions, please contact Flex Support.
Thank you!
Comments
Please sign in to leave a comment.